August 28, 2025
How to Optimize PTZ Security Camera Placement for Maximum Detection?
PTZ (Pan-Tilt-Zoom) security cameras are powerful tools for monitoring large or dynamic areas, but their effectiveness hinges on strategic placement. Unlike fixed cameras, PTZs can cover vast spaces with a single device, but poor positioning can create blind spots, reduce detection accuracy, or limit their ability to track moving targets. Optimizing placement ensures they capture critical details—like faces, license plates, or suspicious activity—while maximizing their pan, tilt, and zoom capabilities. This article outlines key strategies for placing PTZ cameras to achieve maximum detection, covering factors like vantage points, coverage zones, and environmental considerations. By following these guidelines, you can ensure your PTZ camera acts as a vigilant eye, leaving no area unmonitored.
Choosing the Right Vantage Point
Height and Elevation for Wide Coverage
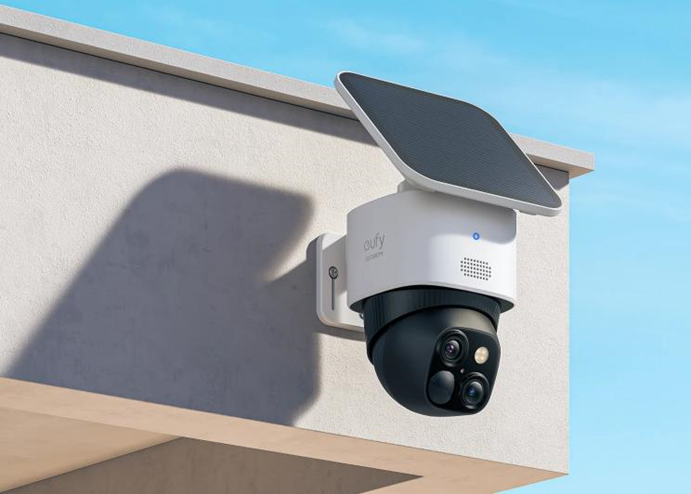
The height of your PTZ security camera directly impacts its field of view and ability to detect activity. Aim for a mounting height of 10–15 feet (3–4.5 meters) for most outdoor areas (e.g., parking lots, yards) and 8–12 feet (2.4–3.6 meters) indoors (e.g., warehouses, lobbies). This elevation balances wide coverage with the ability to zoom in on ground-level activity. For example, a camera mounted at 12 feet can pan 360 degrees to monitor a large parking lot while zooming in to read license plates 50 feet away. Elevate the camera above potential obstructions: Avoid placing it behind trees, signposts, or equipment that could block the view when panning or tilting. For outdoor spaces with tall structures (e.g., fences), mount the camera on a pole or wall that rises above these barriers to ensure unobstructed movement.
Angle and Direction for Critical Zones
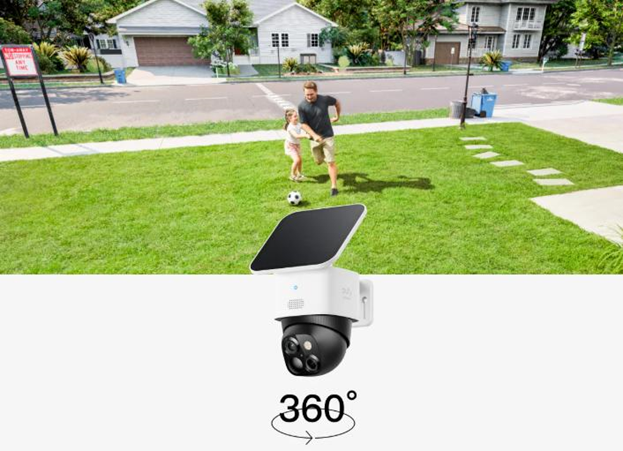
The camera’s initial angle should prioritize high-risk areas, such as entry points (gates, doors), high-traffic paths, or valuable assets (equipment, inventory). Tilt the camera slightly downward (15–30 degrees from horizontal) to focus on ground-level activity while retaining the ability to pan upward if needed (e.g., to monitor second-story windows). For large open areas like stadiums or warehouses, position the camera centrally to maximize its 360-degree pan range. In long, narrow areas (e.g., hallways, driveways), mount the camera at one end to pan along the length, using zoom to track movement from far to near. Avoid pointing the camera directly into bright light sources (e.g., sun, floodlights) during peak hours, as glare can wash out footage. If unavoidable, use a sunshade or adjust the angle to minimize direct light, ensuring the sensor captures clear details even in high-contrast conditions.
Mapping Coverage Zones and Reducing Blind Spots
Identifying and Covering Key Areas
Before installing a PTZ camera, map your space to locate zones needing constant monitoring: entry/exit points, high-value areas (cash registers, server rooms, inventory), busy walkways or aisles, and potential access points like fences or roof edges. Use the camera’s pan, tilt, and zoom to overlap coverage between these areas. For example, one camera can pan to a main door, tilt toward a loading dock, and zoom on storage racks without leaving gaps. Set presets for each critical zone and label them clearly (e.g., “Front Gate,” “Warehouse Aisle”) so operators can reposition instantly. Finally, test coverage by walking through zones to confirm smooth tracking and seamless transitions from one preset to another.
Minimizing Obstructions and Interference
Blind spots often result from physical obstructions or signal interference. Survey the installation area for potential blockers: walls, pillars, machinery, or dense foliage can block the camera’s view when panning. Relocate the camera or trim vegetation to clear these obstacles. For wireless PTZ cameras, ensure the mounting location has a strong Wi-Fi signal to avoid lag or disconnections that could disrupt detection. Use a signal strength app to test the area—if weak, add a Wi-Fi extender or opt for a wired Ethernet connection. Weather can also affect detection: Rain, snow, or fog may obscure the lens. Mount outdoor cameras under eaves or use weatherproof housings to shield the lens. Angle the camera slightly downward to prevent water or snow buildup on the lens, ensuring clear footage in all conditions.
Enhancing Detection with Environmental Adaptation
When positioning PTZ cameras, always consider natural and artificial lighting patterns to ensure clear images. For instance, cameras facing west should be mounted slightly higher to minimize direct afternoon sun glare, which can distort footage. In dim environments, enable infrared (IR) or low-light settings to maintain reliable detection at night or during overcast days. For areas prone to fog, such as locations near lakes, rivers, or coastlines, mount cameras lower to capture ground-level movement, since fog often lingers above eye level and can obscure higher views. Additionally, test how shadows, headlights, or nearby reflective surfaces affect visibility, and adjust angles accordingly. Proper placement helps maintain consistent coverage and ensures the camera delivers usable footage under changing conditions.
Conclusion
Optimizing PTZ camera placement requires careful planning to balance height, angle, and coverage of essential zones for maximum detection. Positioning the camera at an elevated point reduces blind spots and prevents obstructions like walls, trees, or equipment from interfering with the view. Mapping out critical areas, such as entrances, exits, and high-traffic paths, ensures that the most vulnerable points receive consistent monitoring. Adapting placement to changing light, weather, or layout conditions helps maintain image clarity. Routine testing, fine-tuning presets, and reconfiguring as your security needs evolve will keep the PTZ camera a dependable and adaptable cornerstone of your surveillance system.